
Another memory from my days at Carleton College hits the blog. The campus had (has) several special interest residential houses, including French House. It was a place people wanted to live when they had been on an exchange program to the university in Pau, France. They also had events that anyone was welcome to attend. My fading memory tells me that I tasted this cheesecake there. I was told it came from Pau and it had become a house tradition to make it. After tasting it, I had to have the recipe, which I dutifully copied to keep (in pencil on lined paper – ah, the pre-digital camera, pre-scanning days).
It’s such a lovely cake that I thought it was worth sharing here despite being glaringly off-topic, although you could say it communicates community and storytelling. Am I stretching that a bit? I elaborate a bit at the end of the post.
It does take time. I made a double-portion that took 3 hours, including baking time, but not including the 1 hour to bring some ingredients to room temperature. Separating eggs carefully takes time and working in a small kitchen requires juggling, so your mileage may vary.

Ingredients
The recipe uses American measurements. I have a Pyrex glass measuring cup that is marked with both cups and milliliters. I know these can be bought in many special kitchen stores or over the internet, so I no longer translate US recipes to metric measurements. The exception is with weight or “messy things”. It is easier to weigh butter than to scoop it into a measuring device. As a technical communicator, I ought to provide you with compete conversions of the units, but I have never tried using those measurements, so I cannot vouch for them.
- 1 cup flour, sifted
- 1 tablespoon flour
- 1/2 cup soft butter (250 g)
- 1 egg yolk
- 4 eggs, separated
- 2 tablespoons sugar
- 1/2 cup sugar
- 1 pound cream cheese (450 g)
- 1/4 cup heavy cream
- 1/4 cup sour cream
- 1 teaspoon vanilla
- 1/4 teaspoon salt
Making the Cake
- Have butter, eggs, and cream cheese at room temperature. (I put them out for one hour before I plan to bake.)
- With your hands, mix 1 cup sifted flour with the butter until blended.
- Add 1 egg yolk and 2 tablespoons sugar to the flour and butter mixture. Blend well. This is your pastry.
- Press half of the pastry onto the bottom of a 9-inch springform pan. (I have also used regular pans.)
- Bake at 400 degrees for approximately 8 minutes, or until lightly browned. Cool.
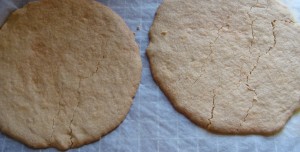
- Fit this bottom into the form.
- Now press the remaining pastry inside the rum about halfway up.
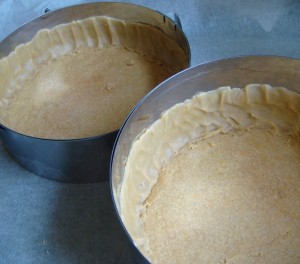
Place in the refrigerator while making the filling. - Cream the cheese until soft.
- Add 1 tablespoon flour and 1/2 cup sugar to the cheese and mix well.
- Beat in the 4 egg yolks, the sour cream, and vanilla.
- In a separate bowl, beat 4 egg whites with salt until stiff, but not dry.
- Fold the egg whites into the cheese mixture.
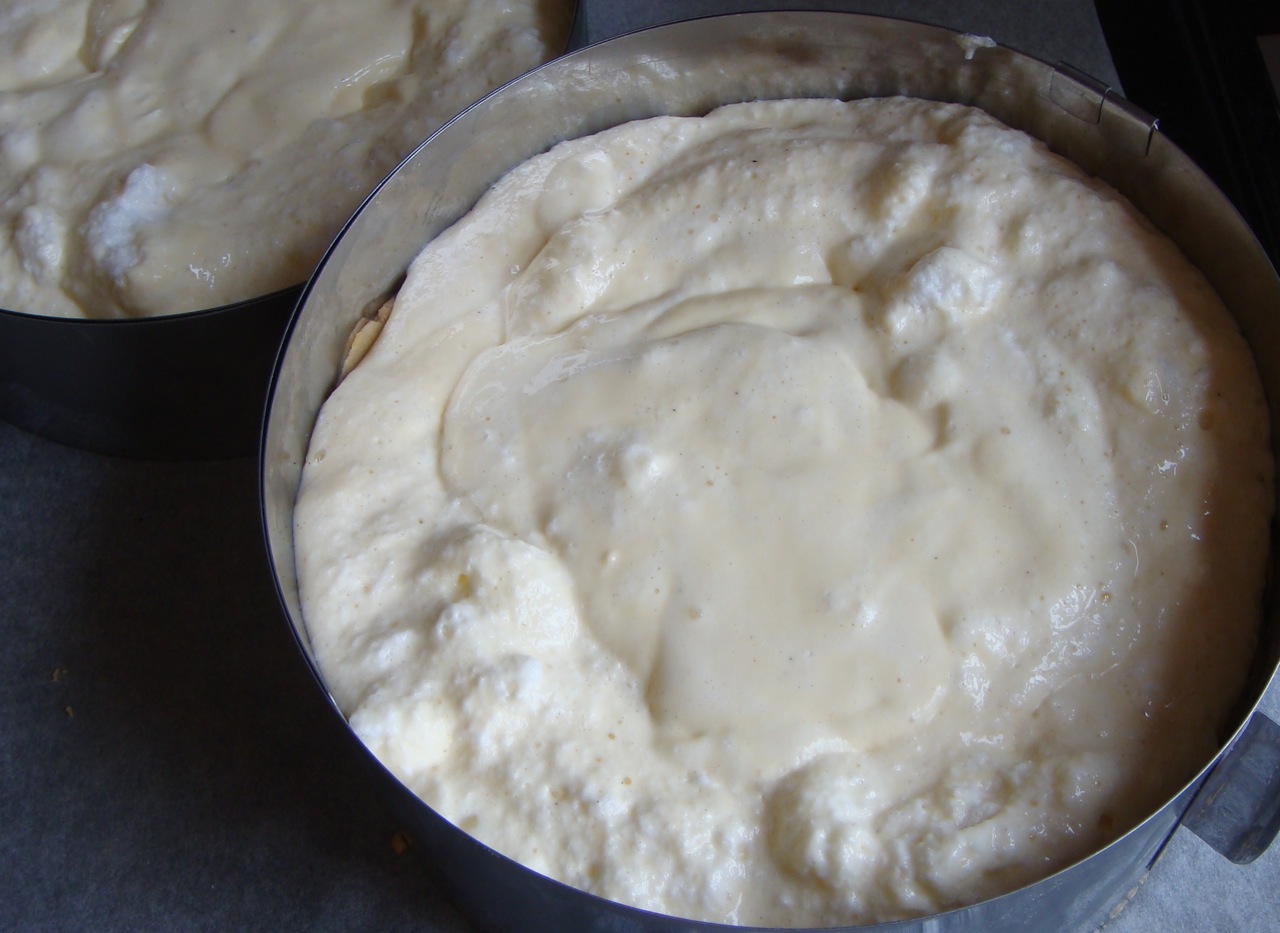
- Pour this mixture into the prepared pans.
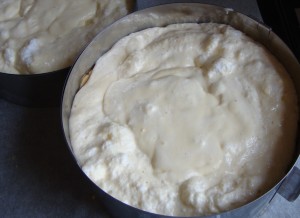
- Bake in a moderate oven at 350 degrees for 45 minutes, or until firm.
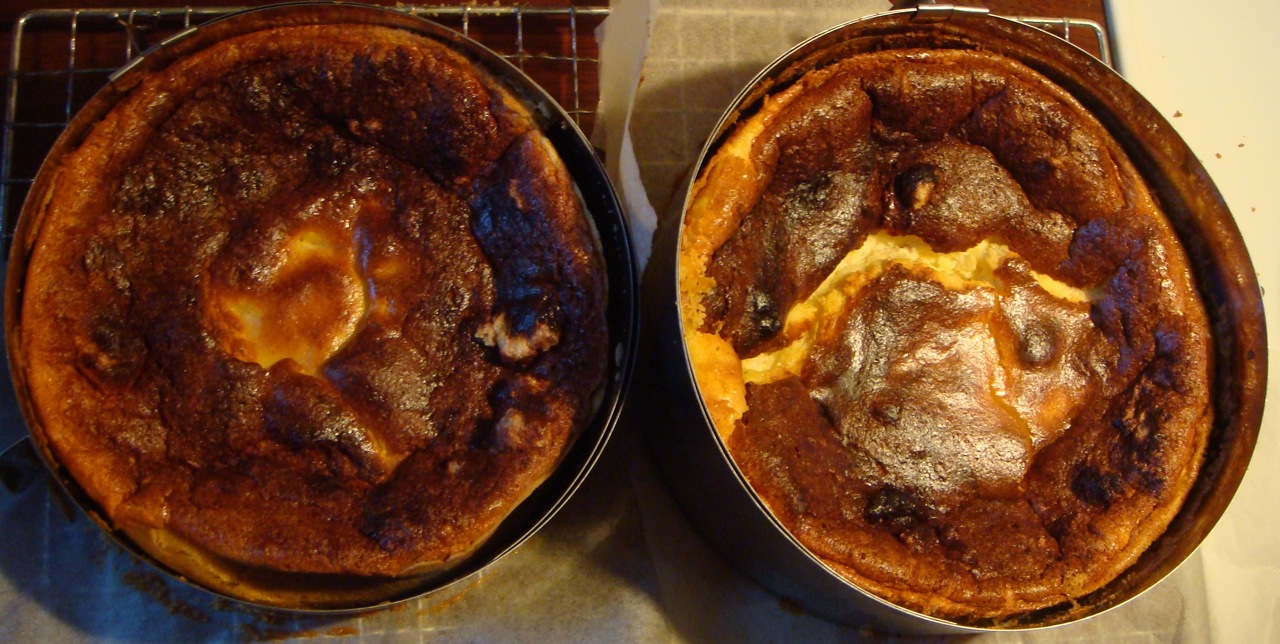
- Let the cake cool away from a draft. The top of the cake will be high coming out of the oven, but it will collapse and crack. That is normal.


Epilog
How was this cake received at my workplace? The following picture shows the second cake being cut into pieces…

What in the world is the tie-in with technical communication? Easy. Technical communicators are known for bribing people with cakes, cookies, and sweets to do reviews, provide input for projects, and so on. I believe we ought to be able to discuss such topics as adults and not stoop to simple tricks like cakes. However, doing both never hurt! 🙂
PS If you are wondering what type of cake pan I used, well, I didn’t. They are adjustable cake rings with no bottoms. Perfect for kitchen geeks. You know you want one!
Uh, ser godt nok lækker ud!
@Tobias – det var! 🙂